ONYX - 9.0 - Utilisation - Génération d'un projet de ONYX Designer/en
Différence entre versions
De MappingDoc
| (Une révision intermédiaire par le même utilisateur non affichée) | |||
| Ligne 16 : | Ligne 16 : | ||
*Windows: C:\Mapping\M-Processing Server\Import\docpc\ | *Windows: C:\Mapping\M-Processing Server\Import\docpc\ | ||
| − | [[File:OX_D_45]] | + | [[File:OX_D_45.PNG]] |
A post-generation window is displayed once the project is generated, to show you the result(s) of the generation. | A post-generation window is displayed once the project is generated, to show you the result(s) of the generation. | ||
| − | [[File: | + | [[File:OX_D_46.PNG]] |
The template is now ready to be imported into Onyx Server. | The template is now ready to be imported into Onyx Server. | ||
Version actuelle datée du 29 août 2019 à 13:13
Generating a project
Once the template is completed, all you need to do is generate it to use it in Onyx server.
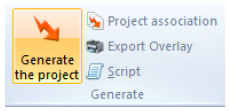
To do so, click on the Project button of the Home menu.
At this stage, make sure you have properly configured the server in Preferences.
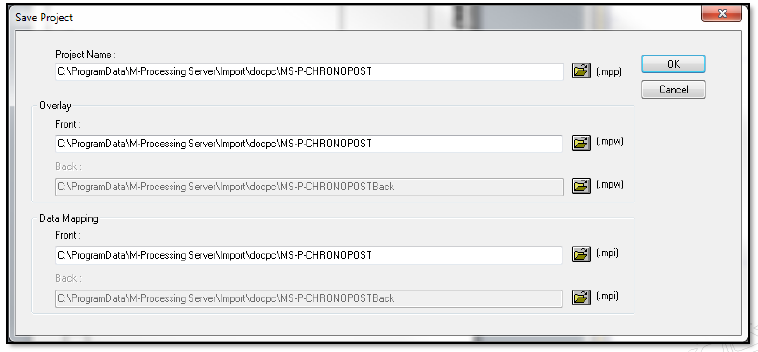
The Save Project windows opens, check that the generation path is correct. By default, the project is generated in the docpc folder in the Import folder.
- Unix: /apps/mapping/import/docpc/
- Windows: C:\Mapping\M-Processing Server\Import\docpc\
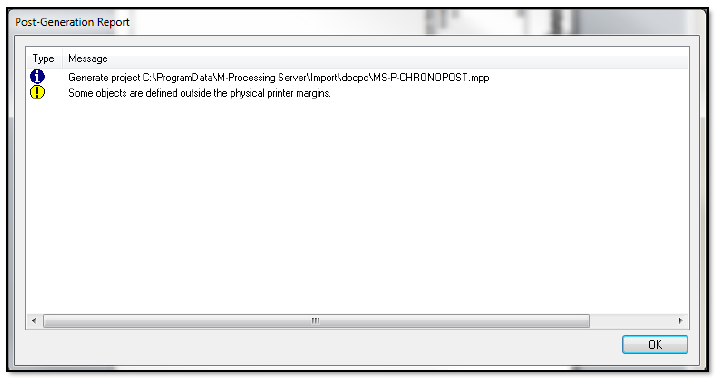
A post-generation window is displayed once the project is generated, to show you the result(s) of the generation.
The template is now ready to be imported into Onyx Server.


