ONYX - 9.0 - Usage
Configuring ONYX Designer
Sommaire
- 1 Configuring Designer
- 1.1 General
- 1.1.1 Automatic save
- 1.1.2 Lock projects upon opening
- 1.1.3 Create .bak files
- 1.1.4 Select object before moving
- 1.1.5 Enable script editor
- 1.1.6 Show all component’s errors
- 1.1.7 Straight lines
- 1.1.8 Temporary folder
- 1.1.9 List of characters to be displayed in double width
- 1.1.10 Default style
- 1.1.11 Language
- 1.2 Configuring the servers
- 1.3 Police
- 1.4 Options de calcul
- 1.1 General
Configuring Designer
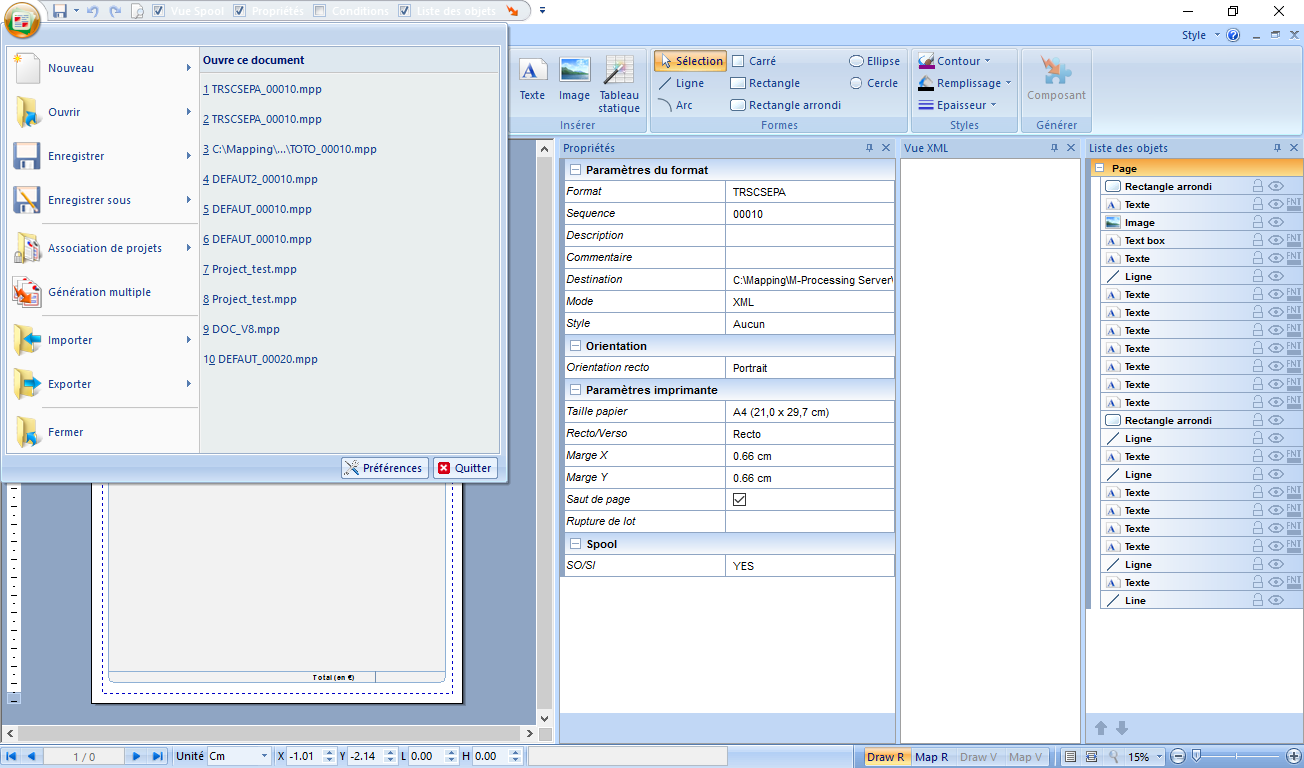
After Designer was installed, the first step is to configure Preferences (see 1) of the application. They are accessed from the File menu (see 2). The preferences are local to the current user and are stored in the Windows registry of the workstation under HKEY_CURRENT_USER/Software/Mapping.
General
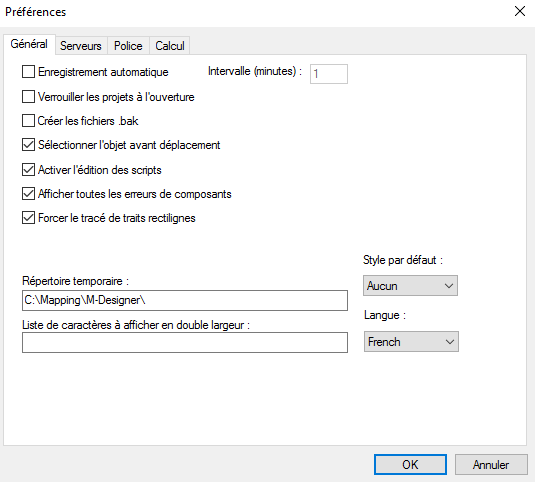
The first tab of the Preferences window displays the general options of the application.
Automatic save
This option programs an automatic save of the projects being designed (opened in the application). The projects are saved at regular intervals defined in minutes in the corresponding input field.
Lock projects upon opening
As will be referred to later in this guide, several users can work with Designer at the same time using a common folder for projects. In this case activating this feature is recommended as it will prevent concurrent access to the same project.
As soon as a user opens a project, writing access is denied to other users. Other users can then only access the project in read-only mode.
Create .bak files
This option allows you to keep N-1 versions of the project when saving it. The corresponding files then have the ".bak" suffix added as their extension.
Select object before moving
As will be referred to later in this guide, All objects positioned in the document template can be edited and moved around. This option forces the user to select an object before he can move it. This prevents objects from being moved accidentally as you select them.
Enable script editor
This option allows you to create, edit, or delete its very scripts. (see Script editing link)
Show all component’s errors
This option affects the number of error windows appearing when opening a project with components that are unavailable in the project folder.
- Activated by default, one window is displayed per missing component, asking for the user to provide said component.
- Deactivated, component errors are gathered and displayed in the same window.
Straight lines
This option forces the application to only draw horizontal or vertical lines (most currently used) by disabling oblique lines.
Temporary folder
This option defines the path of the temporary folder. By default, this is the folder for the installation of the application but this value can be changed if needed.
List of characters to be displayed in double width
This input field allows you to add hexadecimal values (or ranges of values) of specific characters to consider and display in double width.
This option is useful to display datastreams in the Spool view and preview the document template in real time. A similar feature can be found on Onyx Server in the configuration variable MAPCPYSPLF_DBCSPITCH_LIST.
Default style
This list is used to select or not select a style model for defining a specified list of colours, line type, fonts, etc. for your project.
Language
This option is used to choose the display language of the interfaces of the application. The default language of Designer is the same as that of your operating system. The available languages are English, French and Japanese.
Changing the language of Designer affects the other tools in the Suite, including Connect, and the application has to be restarted for any change to be registered.
Configuring the servers
The Servers tab of the Preferences view is used to configure the paths the application must have access to:
- The shared folder of the Designer projects sources.
- The import folders for formats in Onyx Server.
The shared sources folder contains all the projects developed by all the Designer users.
Once developed, Designer projects mut be generated on the production server in the import folder.
Here are the default paths of the import folder of the Onyx Server according to the type of platform:
- Unix : /apps/mapping/import/
- Windows: C:\Mapping\M-Processing Server\Import\
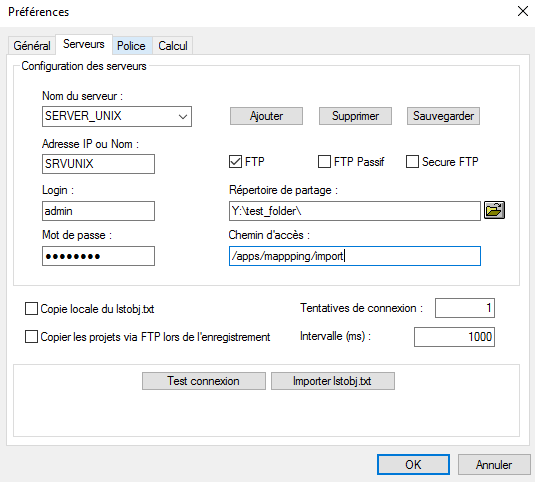
To generate the project, a connection must be established between the development workstations and the production server. Two types of configuration are possible.
Required settings:
- Name of the server: Name given to the configuration.
- Shared folder: Shared folder for the sources.
- Access path: destination path of the generation.
- Import folder: Onyx Server import folder, only used for option "Send mapping".
The server access folder can be:
- A UNC path Examples:
\\test_server\ProgramData\M-Processing Server\Import\ (under Windows)\\test_server \home\mapping\ (under iSeries)
- A network drive pointing to the import folderExample: either a network drive "M:" pointing to the "...\M-Processing Server" folder of the production server. The access folder thus contains "M:\Import\".
In the case of a UNIX production server, a "Samba" type software application must be installed for this connection mode so that the development terminal can communicate with the production server. Connections using the FTP mode are preferable.
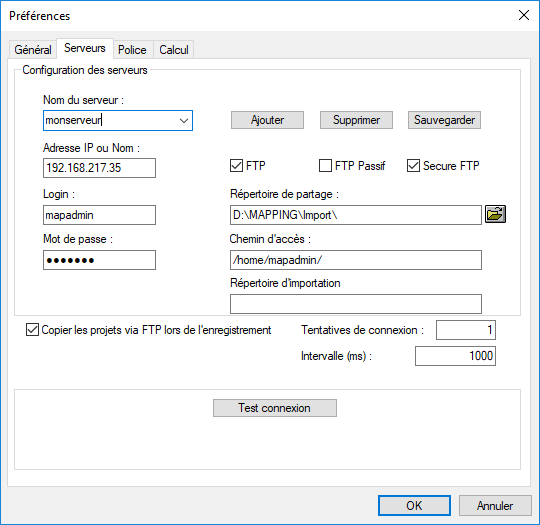
Access to the server using an FTP connection
Dans ce cas, une connexion FTP (ou SFTP) doit être établie entre le poste de développement et le serveur de production.
Paramètres requis :
- Nom du serveur : Nom donné à la configuration.
- FTP/FTP Passif/Secure FTP : Choix du mode de connexion : FTP, FTP Passif, Secure FTP.
- Adresse IP on Nom : Adresse IP du serveur de production.
- Login : Nom d’utilisateur pour l’accès FTP.
- Mot de passe : Mot de passe associé.
- Répertoire de partage : Répertoire partagé pour les sources.
- Chemin d’accès : Chemin d’accès au répertoire d’importation de Onyx Server.
- Répertoire d'importation : Répertoire d’importation de Onyx Server, utilisé uniquement pour l'option "Envoi mapping".
Police
Le champ Génération des polices XPS par page de code permet de pré-charger les polices XPS en définissant un ou plusieurs code-pages afin d'optimiser les temps de traitement pendant le process. Le caractère de séparation des code-pages est le « ; ».
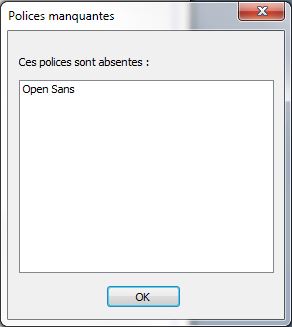
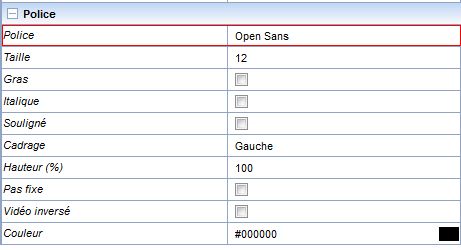
Note : Lors de l’importation d’un projet, si celui-ci est rédigé avec une police non enregistrée, une alerte signale alors que la police est manquante et elle apparaitra en rouge dans les Propriétés de la Zone concernée.
Options de calcul
Les deux options présentes dans l’onglet Calcul définissent les types de séparateurs de milliers et de décimales. Ces informations sont utilisées pour la récupération de valeurs entières ou réelles dans l’application (par des zones mémoires), les calculs effectués et l’affichage des résultats à l’aperçu.
Elles n’ont pas d’influence sur la génération des projets.
Deux variables équivalentes existent côté M-Processing Server pour l’exécution : MAPCPYSPLF_THOUSAND et MAPCPYSPLF_DECIMAL.
Ces paramètres sont pris en compte pour l’exécution de toutes les maquettes, cependant ils peuvent être substitués avant exécution de ces commandes Mapping afin de correspondre à des paramètres régionaux différents de ceux du serveur.
