ONYX - 9.0 - Usage
ONYX Designer Overlay
Sommaire
Overlay (Draw Tab)
Definition
An Overlay is made up of all static and dynamic elements of a Designer project. It can be compared to pre-printed pages in the printing industry.
The Draw F part is the one used to design overlays, you can access it by clicking on the corresponding tab in the status bar. Selecting this tab gives you access to the "Overlay" toolbar in the "Shape" menu.
If you are working on a double sided project, use the Draw B tab to design the overlay for the duplex.
Elements of an Overlay
Geometric Shapes
To draw a geometric shape, select the corresponding icon in the Shape tab. Hold the button of your mouse down and drag your mouse to define the shape and place it on the page. Give it the height and width you would like by dragging your mouse. Then, release the mouse button.
Once the shape is drawn, you can select it, move it around and change its properties (size, outline, filling).
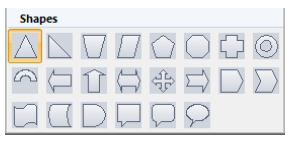
Designer also features a variety of preset, more complex shapes you can select by clicking on the Shape icon:
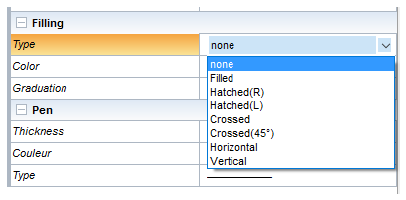
Different types of shape fillings are available in the object properties:
Texts
To insert a text box, select the Text icon then hold the button of your mouse down where you want the box to be placed. Using the same method as with the geometric shape, drag your mouse to adjust the height and width of the box. Once you have released the mouse button, write your text and format it as you wish (font, size, colour, bold, aligned / justified…).
Images
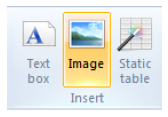
To insert an image, select the Image icon and hold the button of your mouse down where you want the image to be placed. Give it the height and width you would like by dragging your mouse.
Once you have released the mouse button, a windows opens and asks you to select the Image file you want to insert. All you need to do is select the right file.
The image you selected will then be added to the overlay of the project. You can choose to keep the original dimensions of the file or alter them.
Static table
Using this tool, you can insert a static table into the overlay, you will have to define its properties upon creating it.
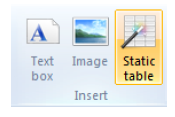
To add a static table, select the Static table icon and hold the button of your mouse down where you want the table to be placed. Once you have released the mouse button, a window opens and asks you to define the various parameters of the rows and columns such as their height, position, number, colour, titles...
Tables can also be inserted without specifying the dimensions beforehand, to do so follow the process detailed in 8.5. Draw a table.


